
Garage door springs, essential for smooth door operation, degrade over time, requiring regular attention during home repairs. Early detection through inspections for unusual noises is key. Timely replacement ensures door functionality, enhances safety, and prevents accidents, making it an integral part of routine home maintenance. Replacing springs is a DIY project that requires caution, proper tools, and matching new springs for your door size and weight. For complex cases, professional assistance is recommended for safe home repairs.
Garage door springs are unsung heroes that ensure your home’s security and convenience. When these crucial components wear out, they can compromise door functionality and safety. This article guides you through replacing garage door springs, a DIY project that promotes smooth operation and enhances your home repairs expertise. From understanding spring fundamentals to gathering the right tools and maintaining future performance, this step-by-step manual equips you to tackle this common task effectively.
- Understanding Garage Door Springs: The Key to Smooth Operation
- Step-by-Step Guide: Replacing Garage Door Springs for Optimal Performance
Understanding Garage Door Springs: The Key to Smooth Operation
Garage door springs are a crucial component in the smooth operation of your garage door system. These powerful coils store energy, allowing for easy opening and closing of the door. Over time, however, they can weaken or break due to constant use, weather conditions, or normal wear and tear, making them a key focus area for regular home repairs.
When a garage door spring fails, it can cause the door to become difficult to operate, or worse, it may suddenly snap, posing potential safety risks. Regular inspection is essential in identifying issues early on. Homeowners should pay attention to any unusual noises, such as popping or clicking sounds, when the door opens or closes, as these could indicate a problem with the springs. Prompt replacement of faulty springs not only ensures the seamless functioning of your garage door but also enhances safety and prevents potential accidents.
Step-by-Step Guide: Replacing Garage Door Springs for Optimal Performance
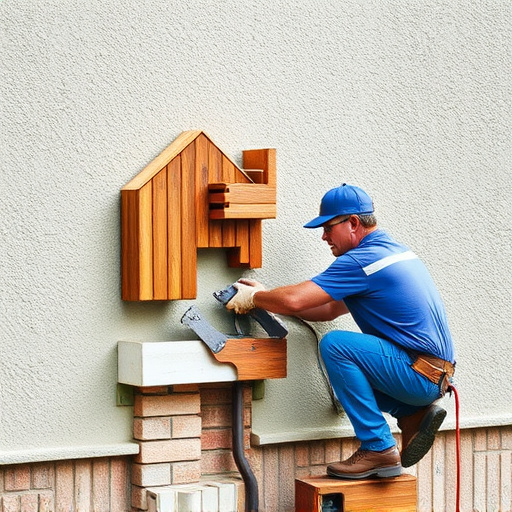
Replacing garage door springs is a task best left to professionals, but if you’re up for a DIY project, here’s a step-by-step guide to ensure optimal performance. First, gather all necessary tools and materials, including new springs suitable for your door size and weight. Next, assess the current spring setup by examining the cables and pulleys. Once ready, disconnect the cables from the pulleys and the spring from the door. A crucial step is to measure and compare the old springs’ length to ensure you’re getting replacements of the correct size.
Next, carefully remove the old springs, being mindful of any remaining tension. Install the new springs by threading one end through the pulley and securing it with a hook or clip. Repeat for the other spring, ensuring proper alignment. After installing both springs, reattach the cables to the pulleys, allowing natural tension to set in. Finally, lift and lower your garage door several times to test its smooth operation. Remember, these steps require caution to avoid personal injury and further damage. For complex cases or to ensure safety, consider professional assistance for your home repairs.
Garage door spring replacements are a crucial aspect of regular home repairs, ensuring your garage door functions smoothly and safely. By understanding the importance of these springs and following a simple step-by-step guide, you can easily maintain optimal performance and extend the life of your garage door system. Don’t overlook this essential home repair – take control and make the necessary adjustments for a seamless opening and closing experience.