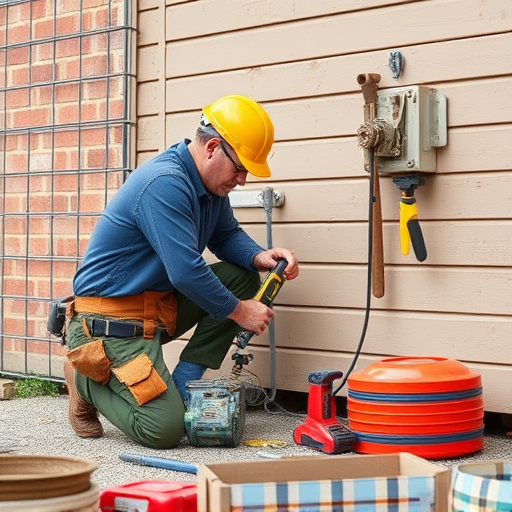
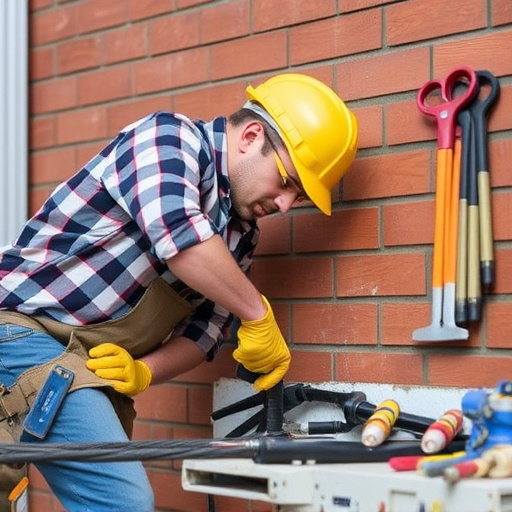
Regularly flushing your water heater (a crucial home repairs task) extends its lifespan, prevents leaks, and ensures optimal heating efficiency. To flush, power off the heater, open hot taps to ventilate, drain the tank, clean buildup if needed, refill with cold water, reactivate power, set thermostat, and recirculate hot water for 5-10 minutes to remove any remaining sediment, thus minimizing the need for costly replacements or breakdowns.
Water heater flushing is a simple yet powerful tool for extending the lifespan of your essential home appliance. By removing sediment buildup, you ensure optimal performance and prevent costly repairs. This article guides you through the process, offering a comprehensive step-by-step approach to effective water heater flushing. Learn why this routine maintenance is crucial for your home repairs and how it can save you time and money in the long run.
- Understanding Water Heater Flushing: Why It Matters for Home Repairs
- The Step-by-Step Guide to Effective Water Heater Flushing
Understanding Water Heater Flushing: Why It Matters for Home Repairs
Water heater flushing is a crucial maintenance practice for homeowners, offering a simple yet effective way to prolong the lifespan of this essential appliance. By regularly flushing your water heater, you remove mineral deposits and sediment that can accumulate over time, leading to potential issues like reduced heating efficiency, leaks, and even failure. These deposits naturally form due to the minerals present in tap water, causing a buildup inside the tank.
When it comes to home repairs, understanding the importance of flushing can save you from costly replacements or repairs. Regular maintenance, including flushing, allows for early detection of potential problems and ensures your water heater operates at optimal capacity. It’s an easy preventive measure that can significantly impact the overall health of your plumbing system and reduce the likelihood of unexpected breakdowns, thereby keeping your home repairs to a minimum.
The Step-by-Step Guide to Effective Water Heater Flushing

Flushing your water heater is a crucial home repair task that can significantly extend its lifespan and ensure optimal performance. Here’s a step-by-step guide to make this process efficient and safe.
1. Power Off and Ventilate: Begin by shutting off the power supply to your water heater, typically located in your home’s electrical panel. Then, open all hot water taps in your house to allow any remaining pressure to dissipate. This step is vital for preventing potential water damage during flushing.
2. Drain the Tank: Connect a garden hose to the drain valve at the bottom of the water heater tank. Place the other end of the hose away from the heater, ensuring it’s in a safe area. Open the valve slowly and let the hot water flow out until the tank is empty. This process helps remove sediment buildup over time.
3. Clean the Tank (if necessary): For stubborn sediment deposits, you can use a specialized cleaning solution or a mixture of baking soda and vinegar. Pour this into the tank, allow it to sit for a few hours, then flush out with hot water again.
4. Re-fill and Recirculate: Close the drain valve and refill the tank with fresh cold water. Turn on the heater’s power supply and set your thermostat to your desired temperature. Let the water heat up, then run hot water through all taps for several minutes to recirculate and remove any remaining sediment.
Regular water heater flushing is a simple yet effective strategy for homeowners looking to enhance their appliance’s longevity and perform efficient home repairs. By removing sediment buildup, this process prevents costly premature failures and ensures optimal performance. Following the step-by-step guide provided, you can extend the lifespan of your water heater, ultimately saving money and effort in the long run.